Adobe Illustrator Introduction
Focus: Illustrator Workspace + Getting Started With Your Magazine
Proverbs 4:7 HCSB
“Wisdom is supreme, so get wisdom. And whatever else you get, get understanding.”

Welcome to Adobe Illustrator!
This week we are beginning Adobe Illustrator, one of the main programs professional graphic designers use to create artwork, logos, icons, illustrations, typography, and other graphics.
Throughout this class, you are going to learn both Adobe Illustrator and Adobe Photoshop.
But you will not just complete random tutorials.
You are designing a MAGAZINE!
As you learn new skills, you will have opportunities to take what you learned and create something similar for your magazine.
Think of it like building a toolbox.
Learn a skill → Practice the skill → Use the skill in your magazine
By the end of the school year, your magazine should show how much your design skills have grown.
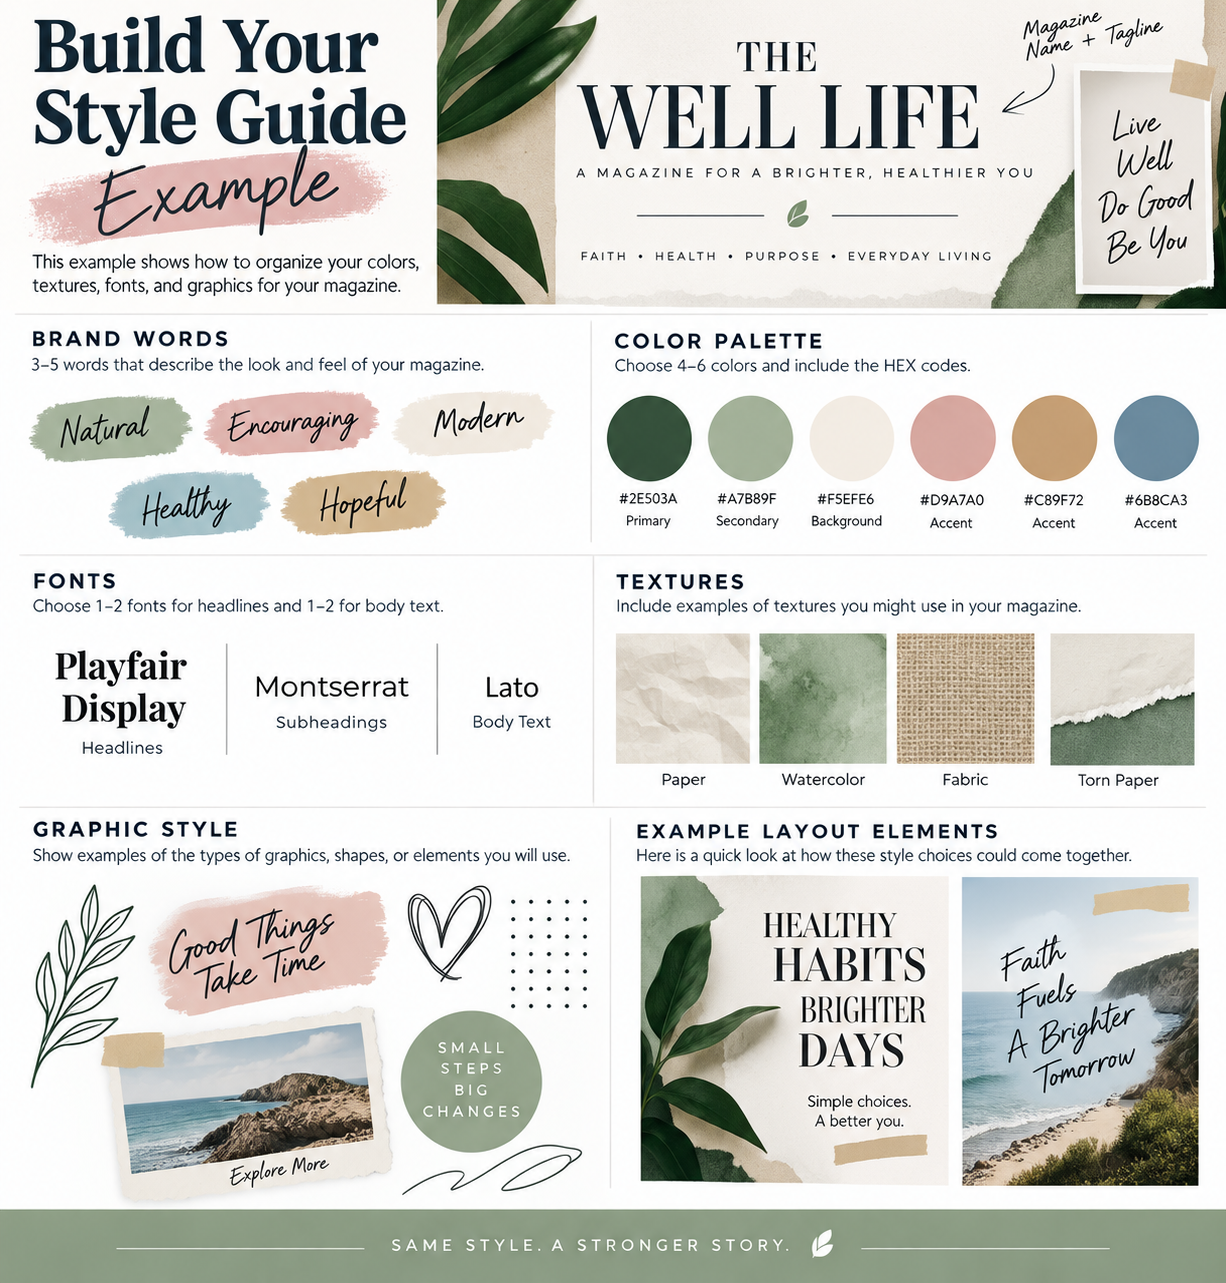
First: Meet Your Magazine Template
You have been given an Adobe Illustrator magazine template.
Do not start redesigning everything yet!
First, open the template and explore it.
Look through the magazine and pay attention to where different types of designs could go.
Ask yourself:
- Where will my title and headlines go?
- Where could photographs go?
- Where could I use illustrations?
- Where could I add icons?
- Where could I use decorative lines or dividers?
- Where could I add interesting shapes?
- Which areas need visual interest?
- How could I make the pages feel like they all belong to the same magazine?
The template gives you the structure. As you learn more about graphic design, you will begin making that structure your own.
You do NOT need to know how to create everything you see yet.
That is what this class is for!
What Is Adobe Illustrator?
Adobe Illustrator is a vector graphics program.
Vector graphics are created using mathematical paths, points, lines, curves, and shapes instead of pixels.
That means an Illustrator graphic can be made very small or extremely large while remaining sharp.
This makes Illustrator great for creating:
Logos • Icons • Shapes • Illustrations • Patterns • Dividers • Typography • Decorative Graphics
These are exactly the kinds of elements we can use to give your magazine its own visual identity.
Meet the Illustrator Workspace
When you open Illustrator, you will see several different areas.
1. Artboard
The artboard is your design area.
Think of it like a piece of digital paper. The artwork that appears on the artboard is what will become part of your final design.
2. Tools Panel
The Tools panel contains the tools you use to create and edit artwork.
Some important tools you will begin using are:
Selection Tool: Selects and moves objects.
Direct Selection Tool: Selects individual points or parts of an object.
Rectangle and Shape Tools: Create rectangles, circles, polygons, and other shapes.
Pen Tool: Creates custom paths and shapes.
Type Tool: Adds text.
Eyedropper Tool: Copies colors and appearance from another object.
Do not worry about memorizing every tool today. You will learn them as you use them.
3. Properties Panel
The Properties panel changes depending on what you have selected.
You can use it to adjust things such as:
- Size
- Position
- Fill color
- Stroke
- Opacity
- Alignment
4. Fill and Stroke
These two settings are extremely important.
Fill is the color inside a shape.
Stroke is the line around the outside of a shape.
For example, a circle could have a black fill with a white stroke.
5. Layers
Layers help organize your artwork.
Think about stacking transparent sheets on top of each other. One sheet might contain your background, another might contain your text, and another might contain your graphics.
Keeping your layers organized will become especially important as your magazine gets more complicated.
Meet the Illustrator Workspace
When you open Illustrator, you will see several different areas.
1. Artboard
The artboard is your design area.
Think of it like a piece of digital paper. The artwork that appears on the artboard is what will become part of your final design.
2. Tools Panel
The Tools panel contains the tools you use to create and edit artwork.
Some important tools you will begin using are:
Selection Tool: Selects and moves objects.
Direct Selection Tool: Selects individual points or parts of an object.
Rectangle and Shape Tools: Create rectangles, circles, polygons, and other shapes.
Pen Tool: Creates custom paths and shapes.
Type Tool: Adds text.
Eyedropper Tool: Copies colors and appearance from another object.
Do not worry about memorizing every tool today. You will learn them as you use them.
3. Properties Panel
The Properties panel changes depending on what you have selected.
You can use it to adjust things such as:
- Size
- Position
- Fill color
- Stroke
- Opacity
- Alignment
4. Fill and Stroke
These two settings are extremely important.
Fill is the color inside a shape.
Stroke is the line around the outside of a shape.
For example, a circle could have a black fill with a white stroke.
5. Layers
Layers help organize your artwork.
Think about stacking transparent sheets on top of each other. One sheet might contain your background, another might contain your text, and another might contain your graphics.
Keeping your layers organized will become especially important as your magazine gets more complicated.
Today's Illustrator Challenge
Today we are going to practice creating simple graphic elements that could actually be used in your magazine.
Your goal is to create a small Custom Graphic Elements Library.
A graphic elements library is a collection of reusable design pieces that help create a consistent look throughout a project.
You might create:
Icons
Simple symbols that communicate an idea quickly.
Examples: camera, heart, star, book, microphone, computer, arrow, speech bubble.
Dividers
Lines or decorative graphics used to separate sections of a page.
Decorative Shapes
Circles, boxes, arrows, stars, abstract shapes, borders, or other elements that add visual interest.
In-Class Magazine Activity
Create a collection of decorative icons, dividers, and graphic elements that could be used throughout your magazine.
Start with simple shapes.
Try combining circles, rectangles, lines, and other basic shapes to create something new.
Experiment with:
- Fill colors
- Stroke colors
- Stroke thickness
- Rounded corners
- Shape combinations
- Size
- Rotation
- Alignment
Your graphics do not have to be complicated.
Simple + intentional + consistent can create great design.
Your Design Rule
Before adding something to your magazine, ask:
“Does this have a purpose?”
A graphic should help organize information, communicate an idea, guide the reader's eye, or support the overall style of your magazine.
Do not add decorations just because there is an empty space.
Think Like A Designer
Proverbs 4:7 tells us:
“Wisdom is supreme, so get wisdom. And whatever else you get, get understanding.”
Learning software is more than memorizing which buttons to click.
A designer seeks understanding.
Instead of only asking:
“How do I make this?”
Begin asking:
“Why does this design work?”
When you complete an Illustrator tutorial, do not simply copy what the instructor creates.
Study it.
What shapes did they use?
What tool made that effect?
Why did they choose that color?
How were the objects arranged?
Could you use the same technique to create something completely different?
That is how you move from following tutorials to becoming a designer.
Your Magazine Will Grow With You
You are not expected to know how to design an entire magazine today.
Each time you learn something new in Illustrator or Photoshop, think about how that skill could improve your magazine.
You might learn how to make an icon and create icons for your magazine.
You might learn a typography technique and use it for a magazine headline.
You might learn how to edit a photograph in Photoshop and place the finished image into your magazine.
You might learn how to create an interesting shape and turn it into a graphic element for one of your pages.
Tutorial → Practice → Create Your Own Version → Add It to Your Magazine
By the end of the course, the magazine will not just be a final project.
It will be a record of what you learned.
Homework
Create 5 Additional Icons
For homework, create five additional icons in Adobe Illustrator.
Your icons should:
- Be created using Adobe Illustrator
- Use skills you practiced in class
- Have a similar visual style
- Be appropriate for your magazine
- Be designs you could actually use somewhere in the magazine
Before you finish, open your magazine template and decide:
Where could each of these graphics be used?
You do not have to place every icon into the magazine yet. For now, we are building your Custom Graphic Elements Library.
How to Submit Your Homework
When you are finished, arrange all 5 icons on one artboard so I can clearly see each design.
Then export your artboard as a JPG and submit the JPG file for your homework.
Important: Do not submit the Illustrator (.AI) file. Your final submission should be a .JPG image showing all five icons.
Before You Leave
You should be able to answer these questions:
What is Adobe Illustrator used for?
What is an artboard?
What is the difference between Fill and Stroke?
Why are layers important?
What is a vector graphic?
Where could the graphics you created today appear in your magazine?
Remember: You do not have to know everything yet.
Get wisdom. Get understanding. Then use what you learn to create.